by Sarah | Jan 23, 2019 | Blog
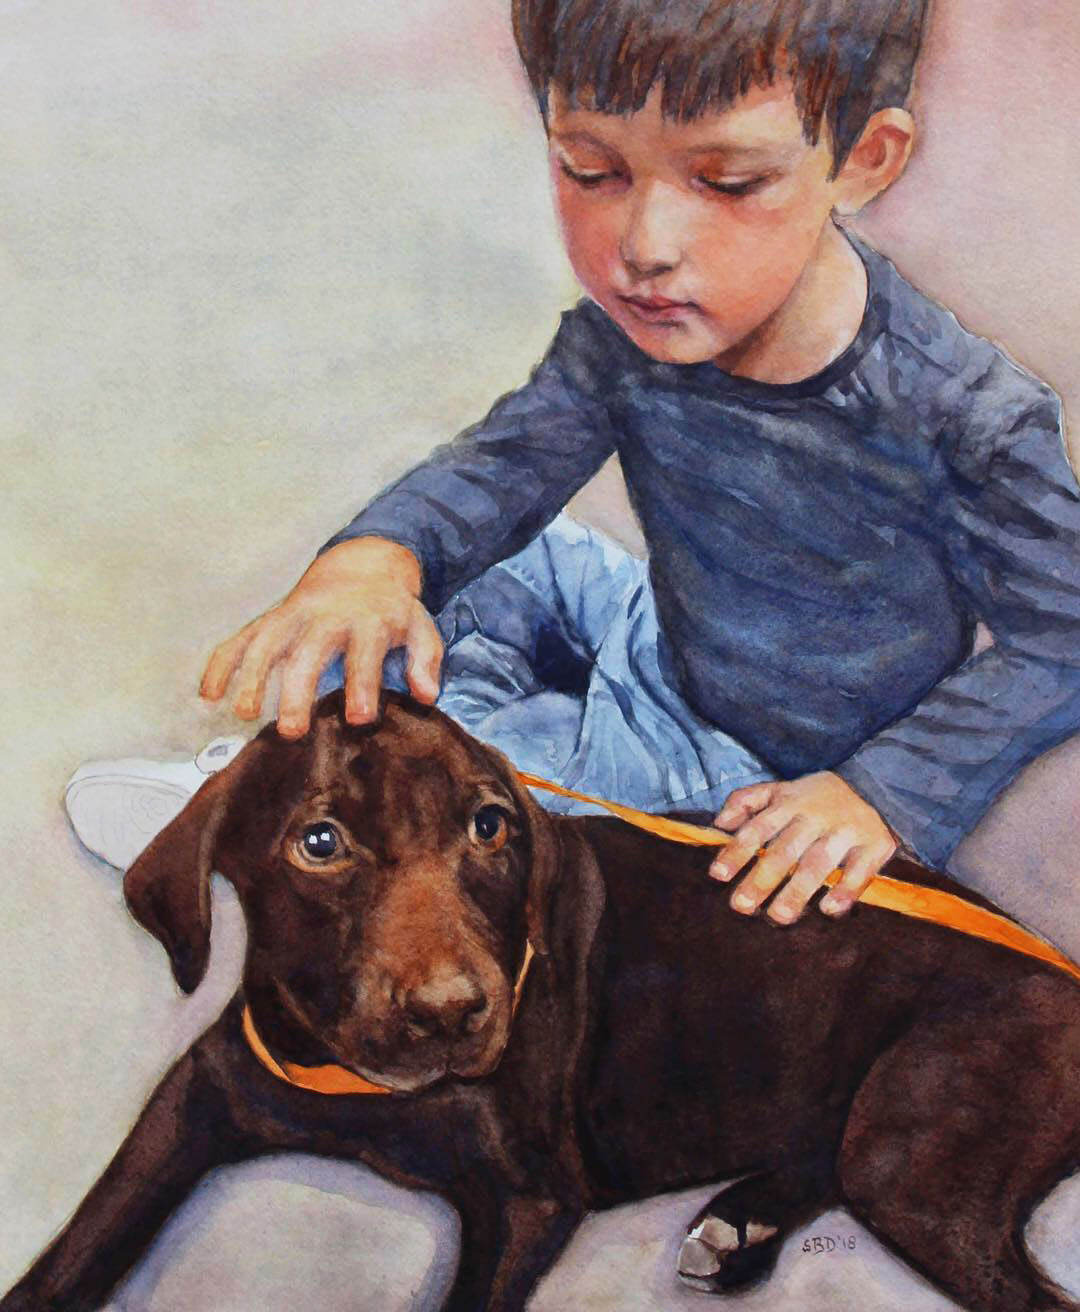
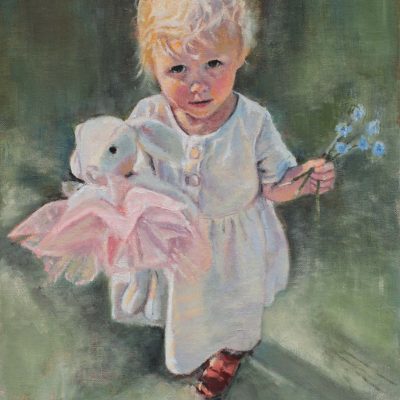
This is James and his new puppy. His grandmother (a dear friend) asked me to paint a portrait as a Christmas present to her son and his wife. She wanted a soft look, and watercolor is a perfect medium for that.
I was given a 3″x5″ photo from which to work, and the finished portrait would be 16″ x 20″. Help! Thank goodness for PhotoShop. I was able to blow the picture up and see some of the details. Next the colors. Would they be accurate? Mary sent me samples of hair and skin color as James lives in Colorado…I live in Charleston…
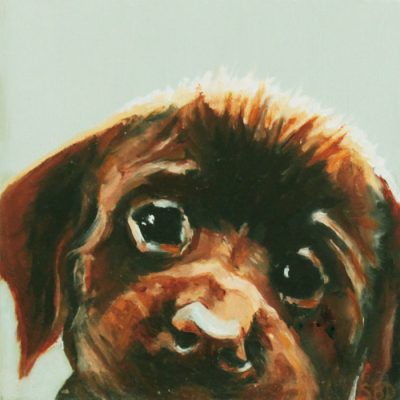
This is going to be a short blog as I got well into James’ portrait and remembered I needed to take photos. You can see some of the drawing here, and the puppy is well underway. I used a combination of Transparent Red Oxide and Quinacridone Sienna to arrive at the wonderful orange/copper color on the nose and highlighted in the fur. At this point, I’m just starting to figure out the fingers and hand placement. Also, what is going on with the rear paw? Which leg was it attached to (look at the photo below)?
Here is the sweet photo of James and the puppy.
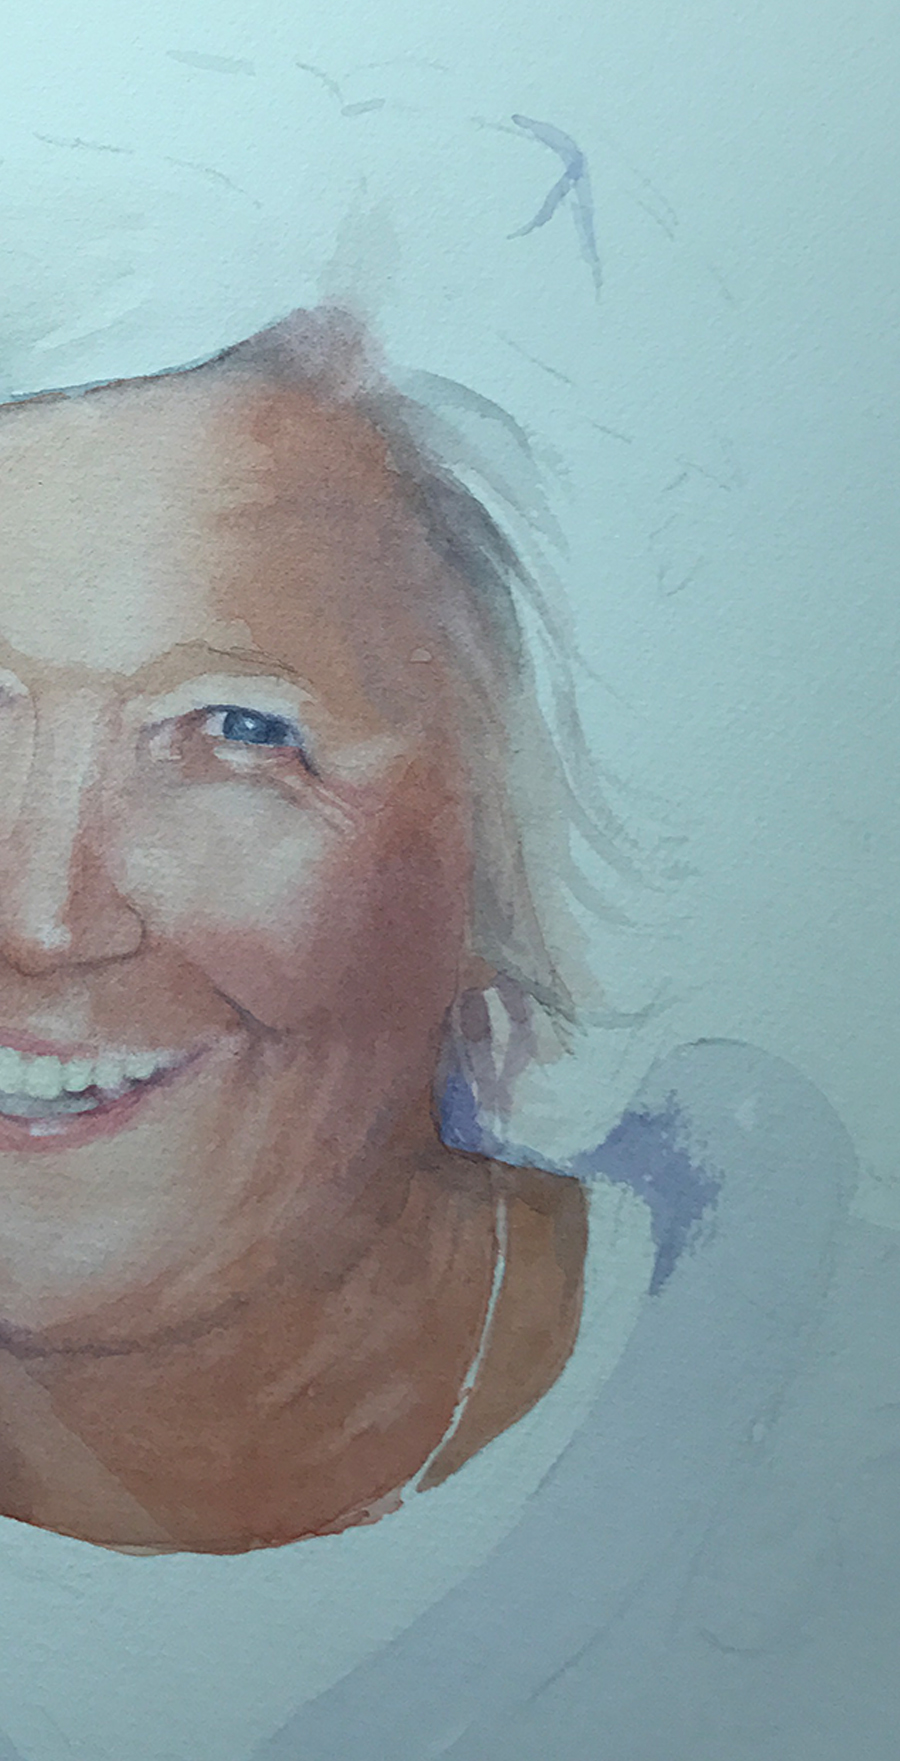
I thought you might like a closeup of James’ sweet face. I really wanted to capture his intent, his thoughtfulness. I hope I succeeded.
Mary sent me this wonderful picture. “They love it!” she said.
No sweeter words.
by Sarah | Aug 14, 2017 | Blog, Blog Posts
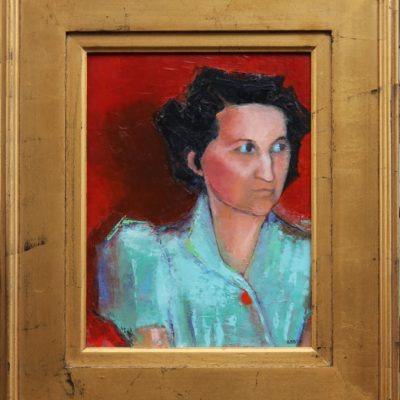
“Doots”
My childhood best friend, who died last year was just so full of life! She loved to laugh.
We met in pre-nursery school, and were both “Doots.” We started the renowned “Doots & Doots Detective Agency”… solving all manner of crimes…often ones that we committed.
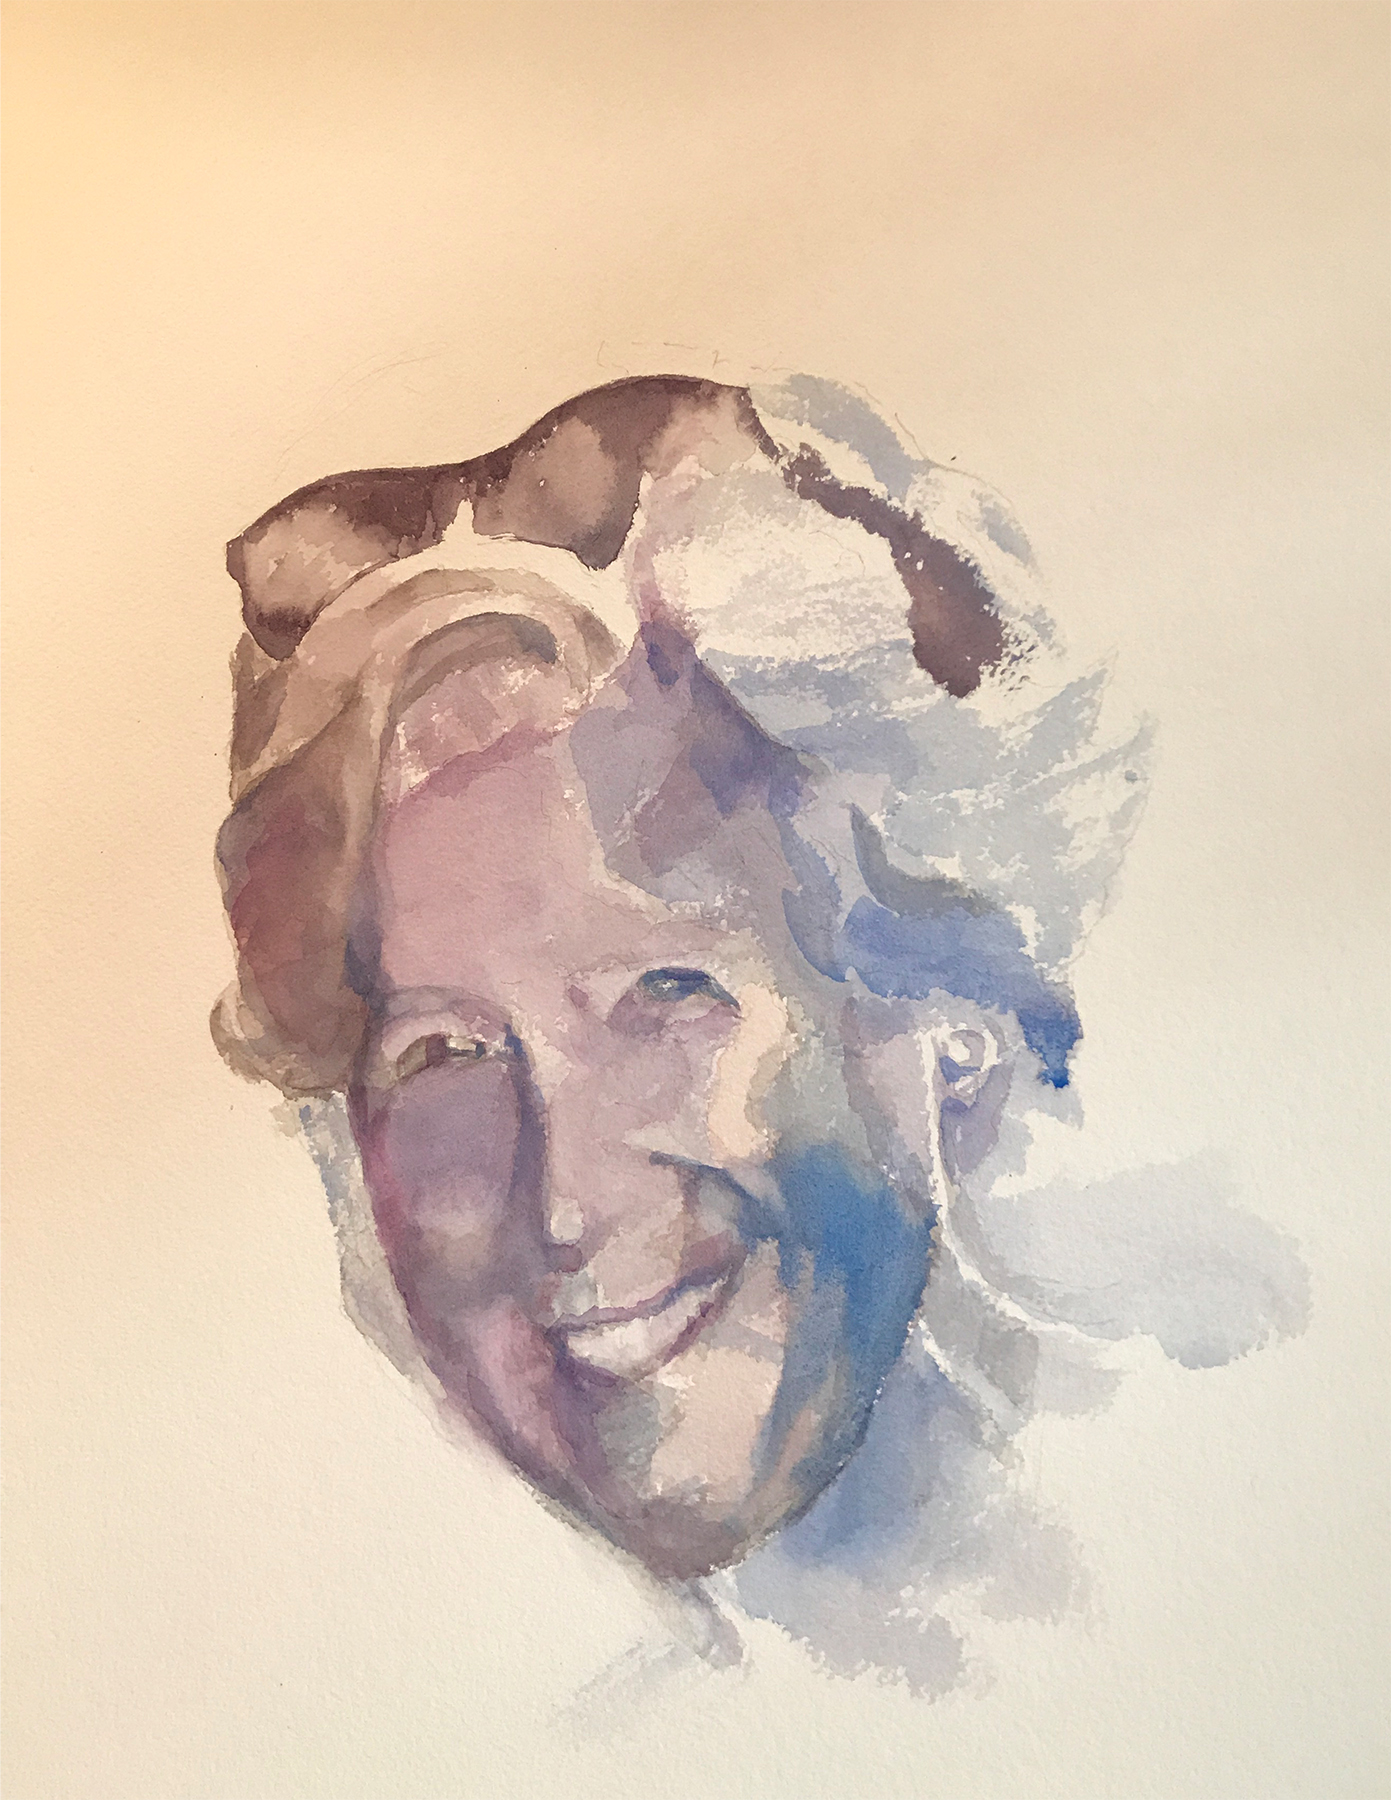
I was asked by her siblings to paint her portrait as a gift to her husband. I so dearly wanted to capture this loving, zany friend who was always looking for a joke or plotting something mischievous.
I have to say that this was the hardest painting I’ve ever done. Often I’d cry.
But the painting was presented to her husband last week, and I was so touched by his thoughtful note:
“I can’t begin to describe the impact of your painting. Such a blessing. God’s in His heaven and Sandy’s with Him. Love you.”
Oh, I’m so glad I was asked.
Here are a few thoughts en route to the painting
This is what’s called a “value study.” I gave arbitrary colors to the various values on Doots’s face, namely dark black and dark blue for the darkest values. The middle values on the face are purple/gray. The interesting thing I learned is that you can use ANY color in a painting and it will make sense as long as the value is accurate. It will look astoundingly right. Value is key!
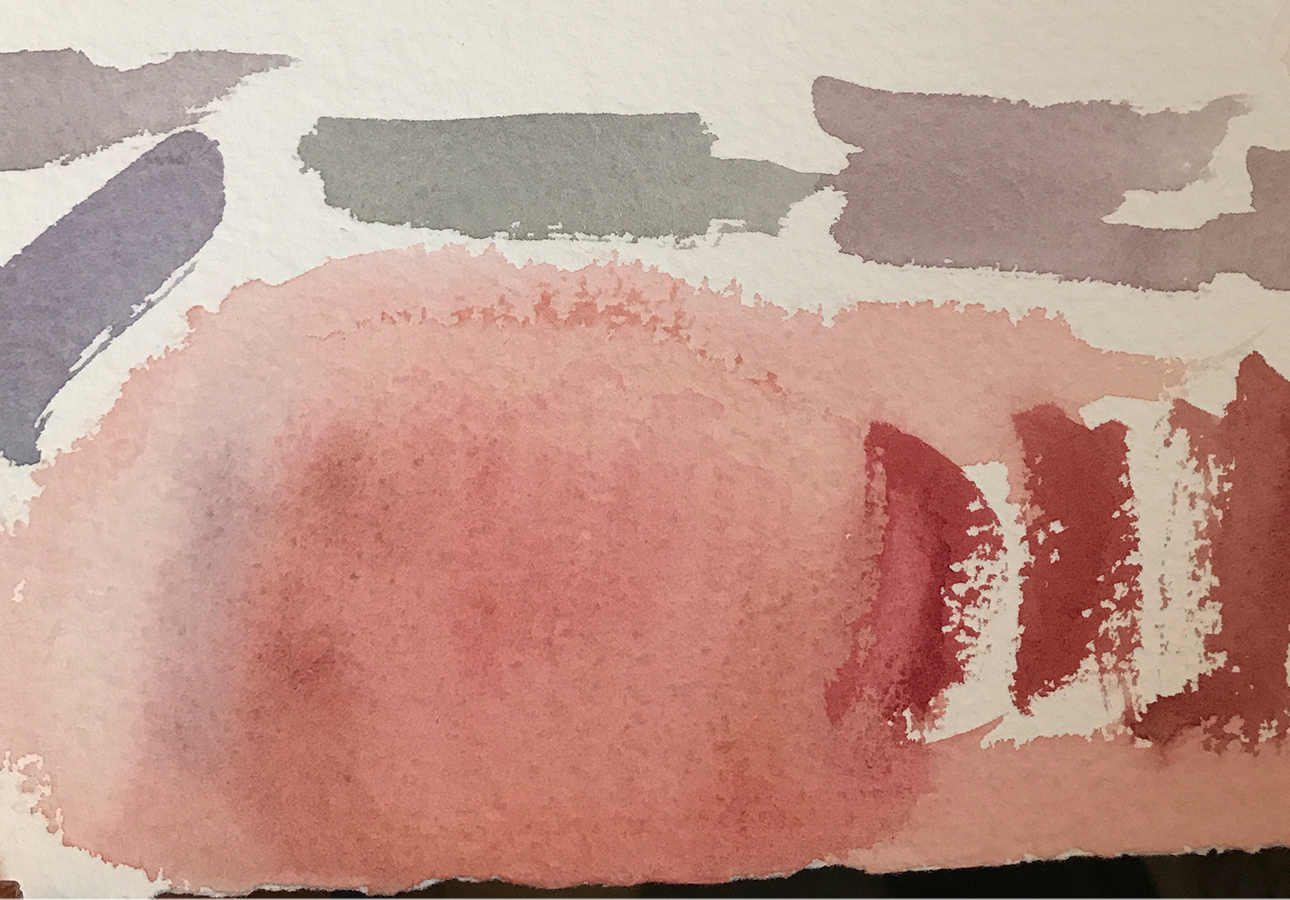
I’ve enclosed a value chart here going from the lightest light to the darkest dark, so you can see the variations.
Doots’s brother stopped by, and we determined that he had the same coloration as Doots. These are the sample colors that I used primarily on her face in the painting.
I should add that the finished painting (above) is actually on white paper, so the colors are not accurate (sigh). The camera has a hard time registering white, and often gives the picture a yellow, red or blue cast. Frustrating!
Painting almost always requires many failed attempts. For instance, I couldn’t get the right side of Doots’s face without her looking truly bizarre, so I’m hiding it in this photograph… I, also, realized that her mouth was too wide. She also looked fat, and I didn’t want that, so I scraped the whole thing. Sort of like bad batches of cookies…
I didn’t take many pictures as I worked through this painting as I was so absorbed that I forgot. Next time I’ll do better…
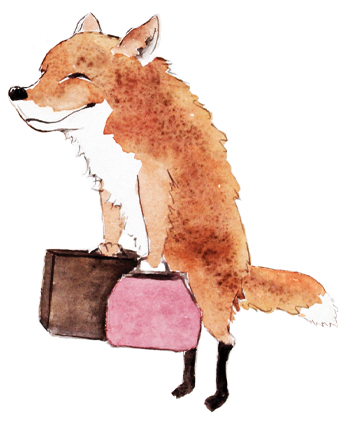
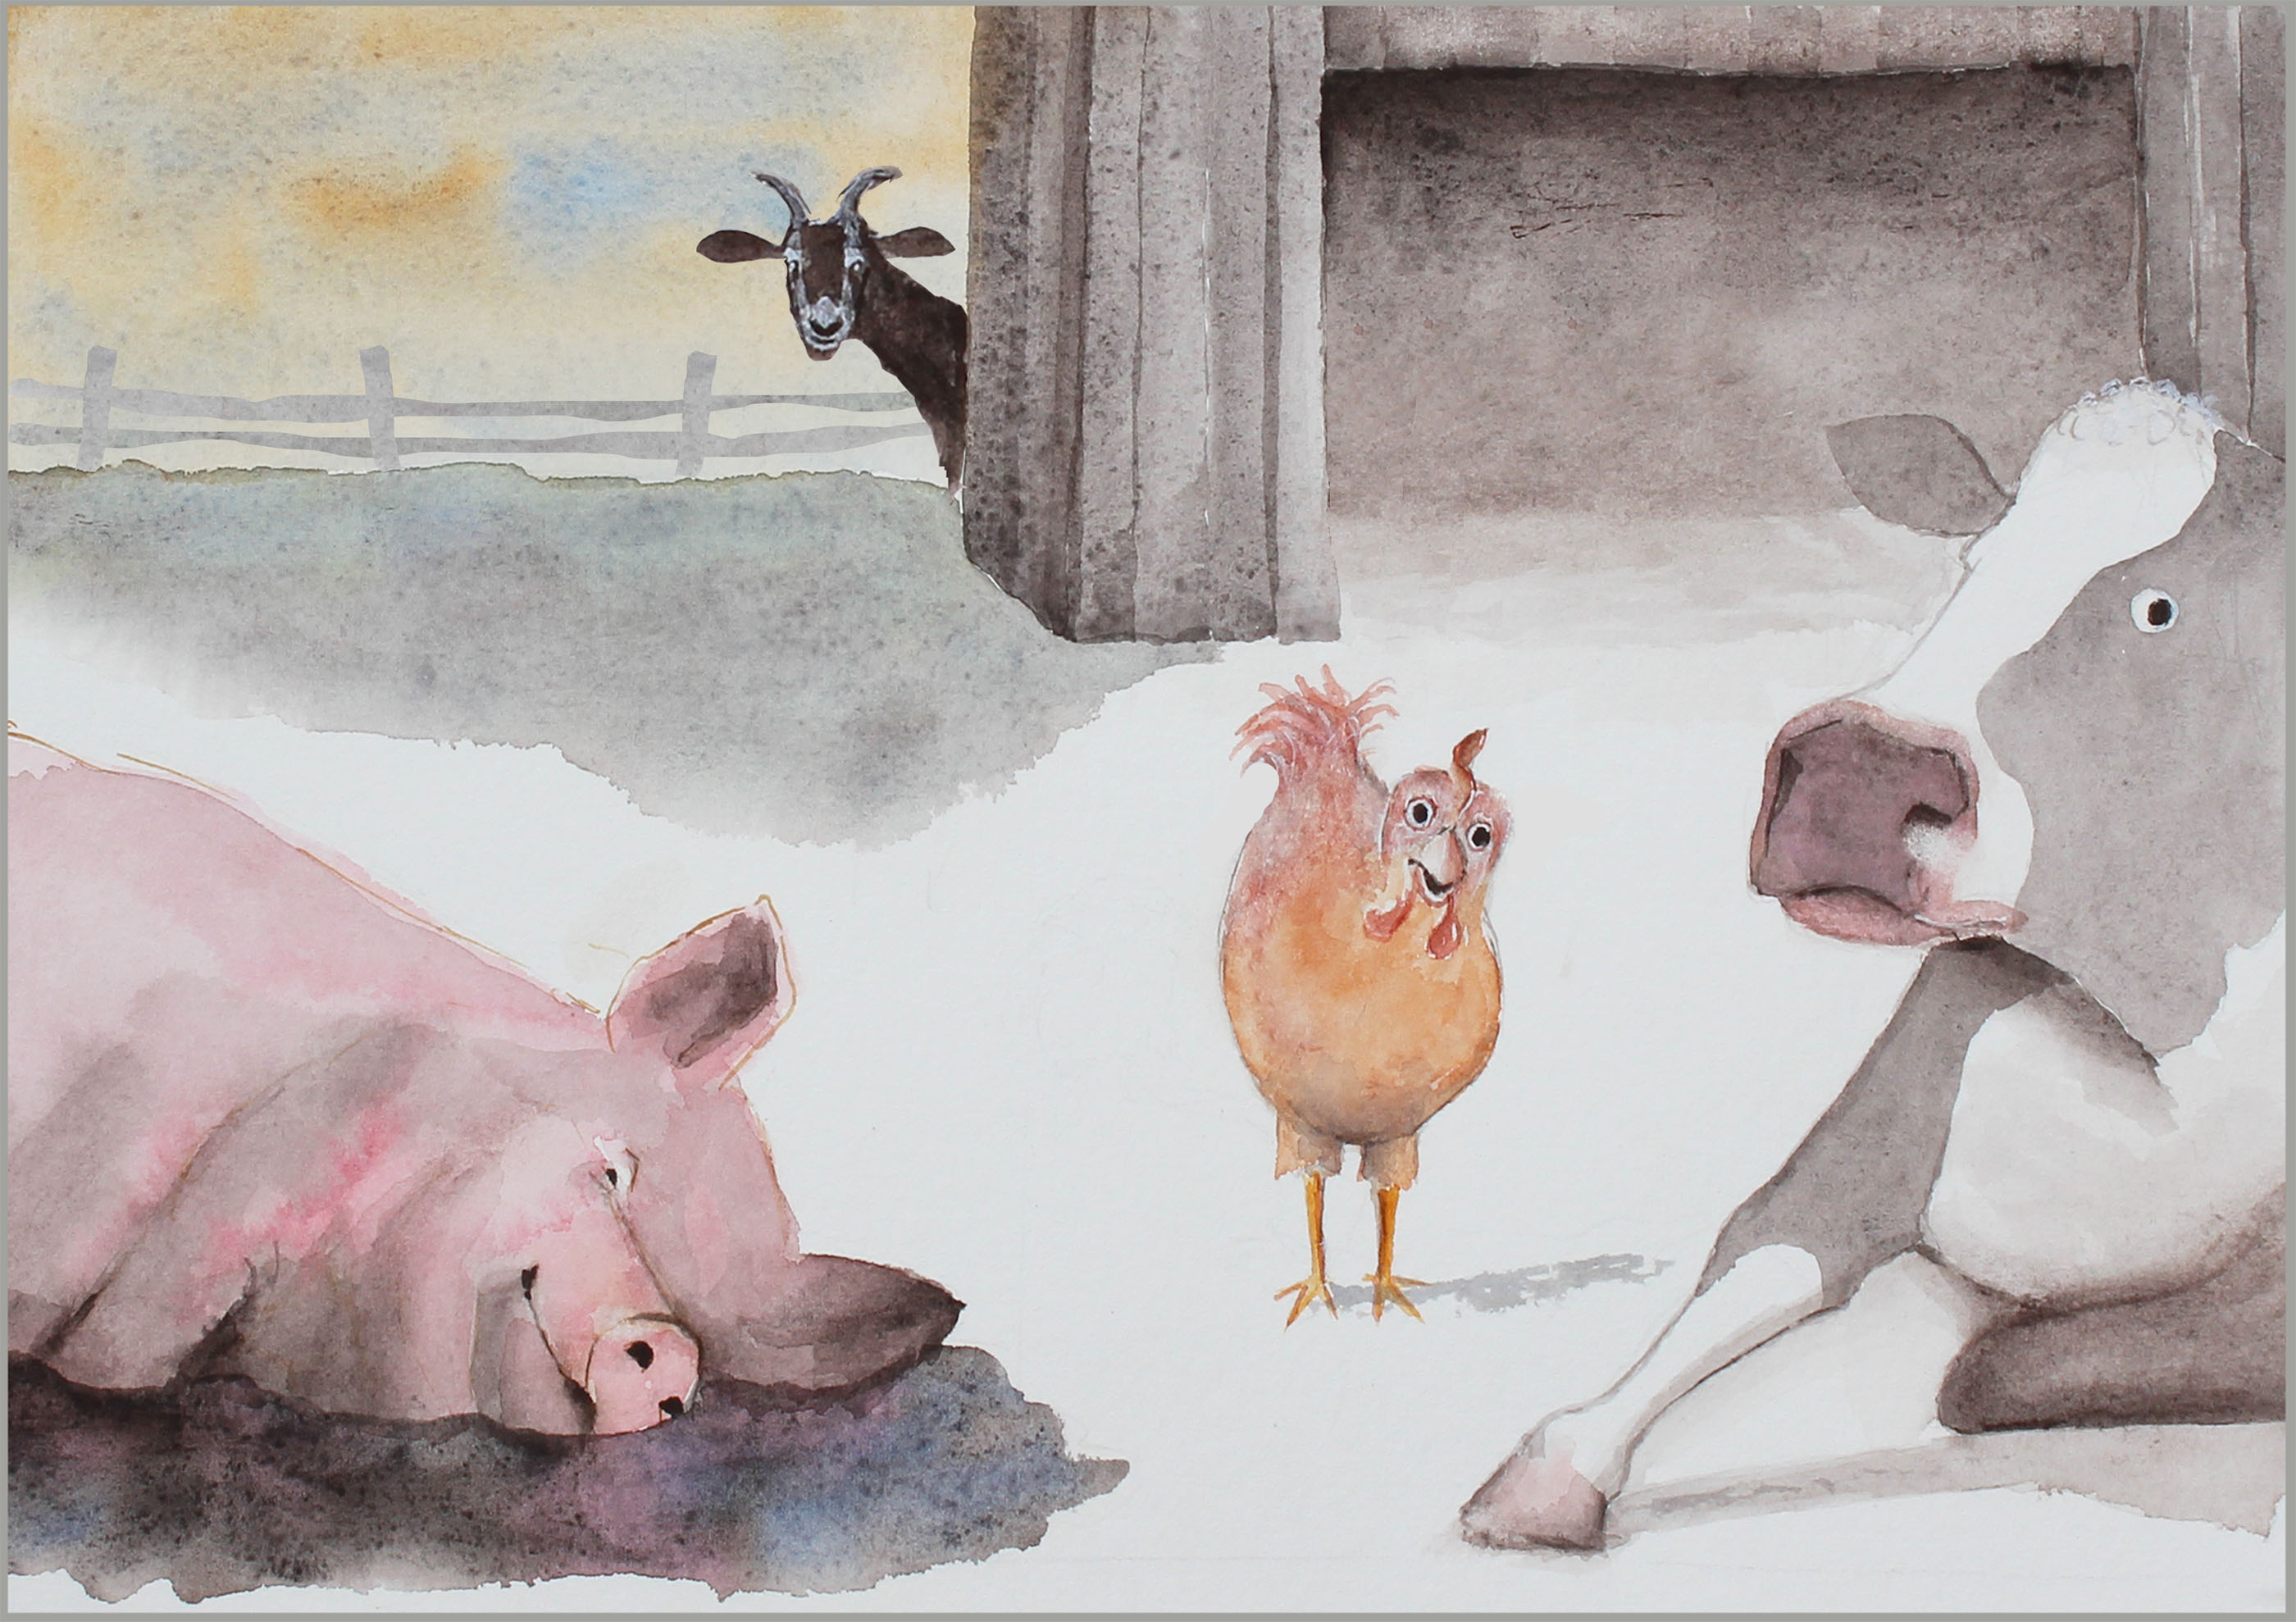
Aside from my fine art paintings, I’m illustrating a book of fables that my husband has written called “Timely Tales.” I love them! Here are two preliminary illustrations. I’ll be posting new ones here as I trot along…
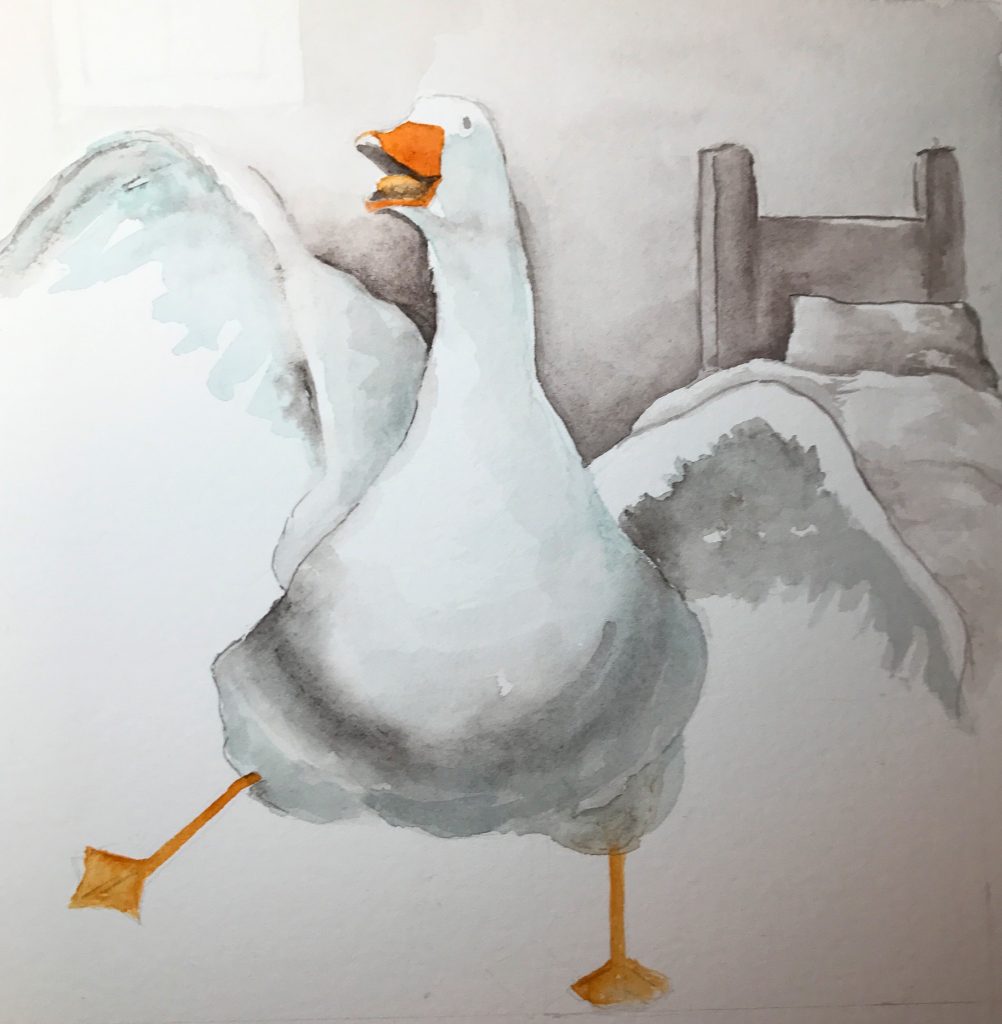
It’s Carnival Day!
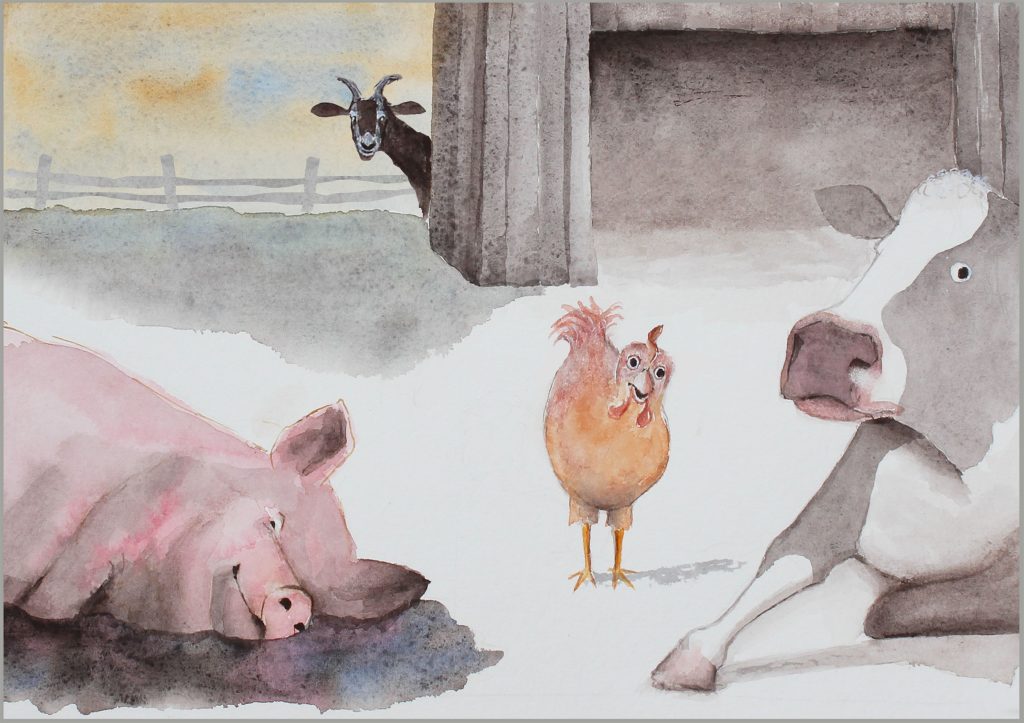
I’m bored!
           Back to Work…
Well, now it’s time to get back to work…Â
by Sarah | Mar 9, 2014 | Featured
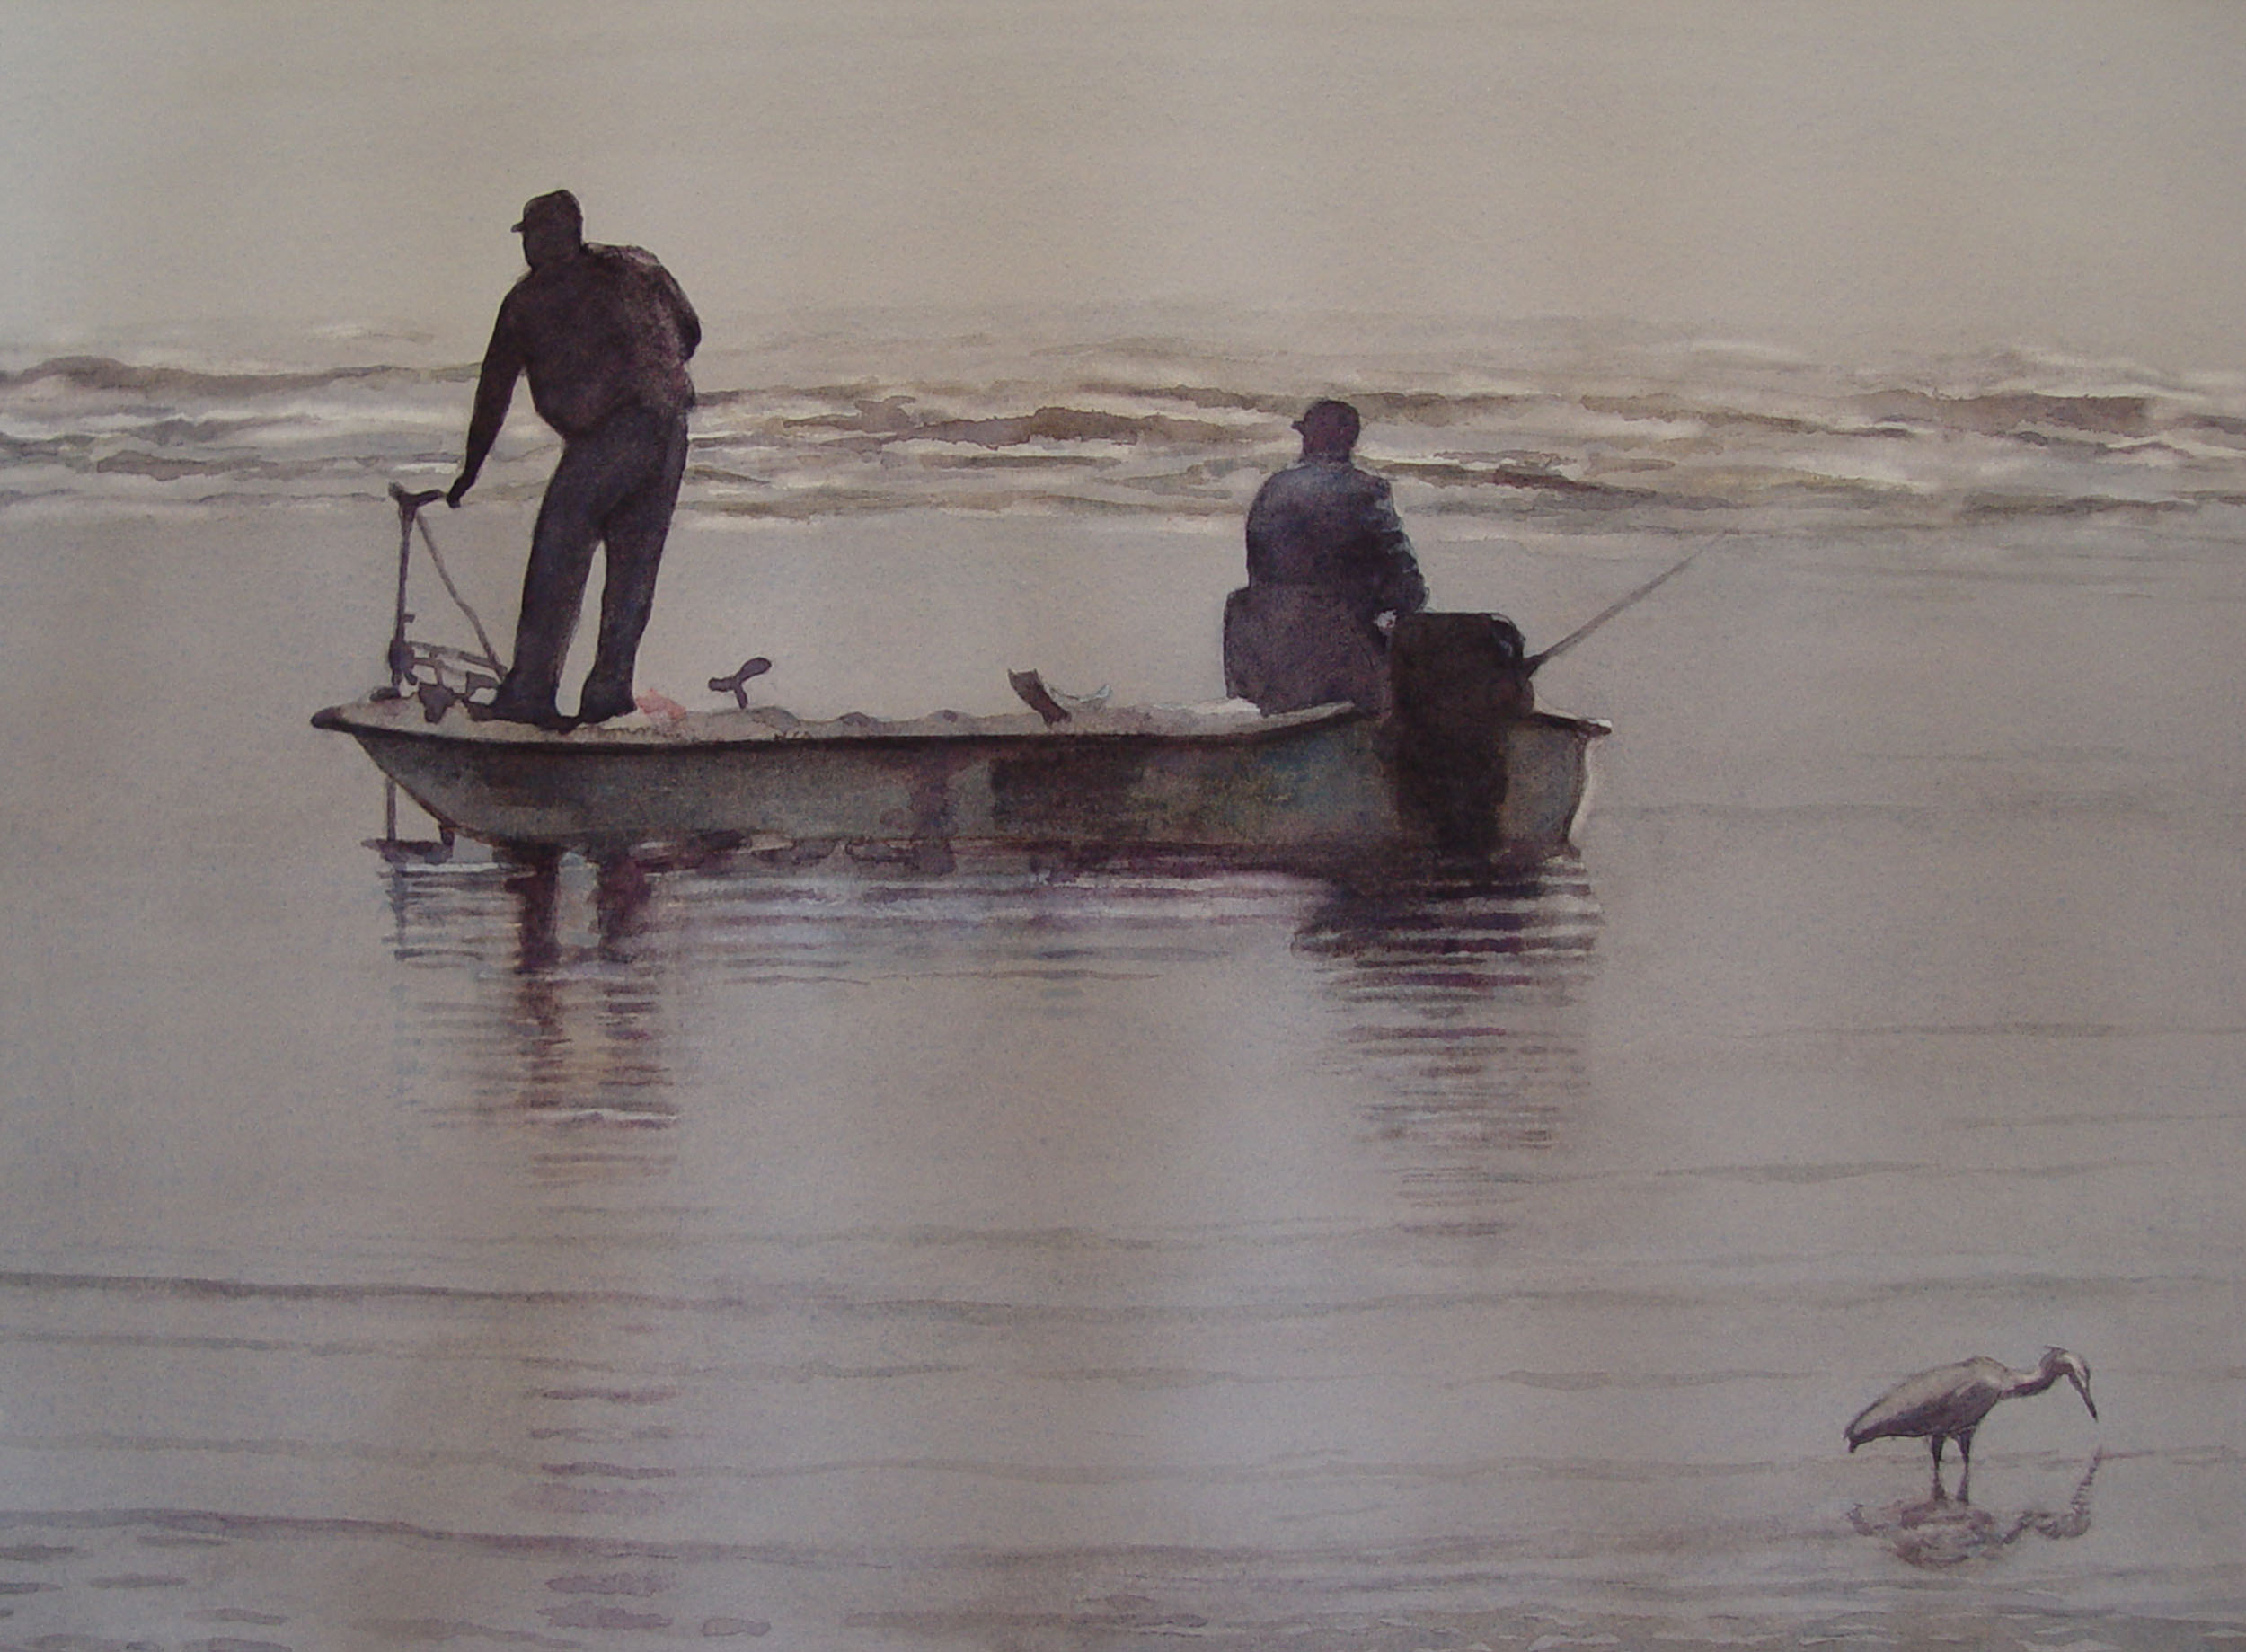
Grey Day @ Gould’s Inlet
Watercolor on Arches cold press paper.

by Sarah | Mar 8, 2014 | Featured, Portfolio
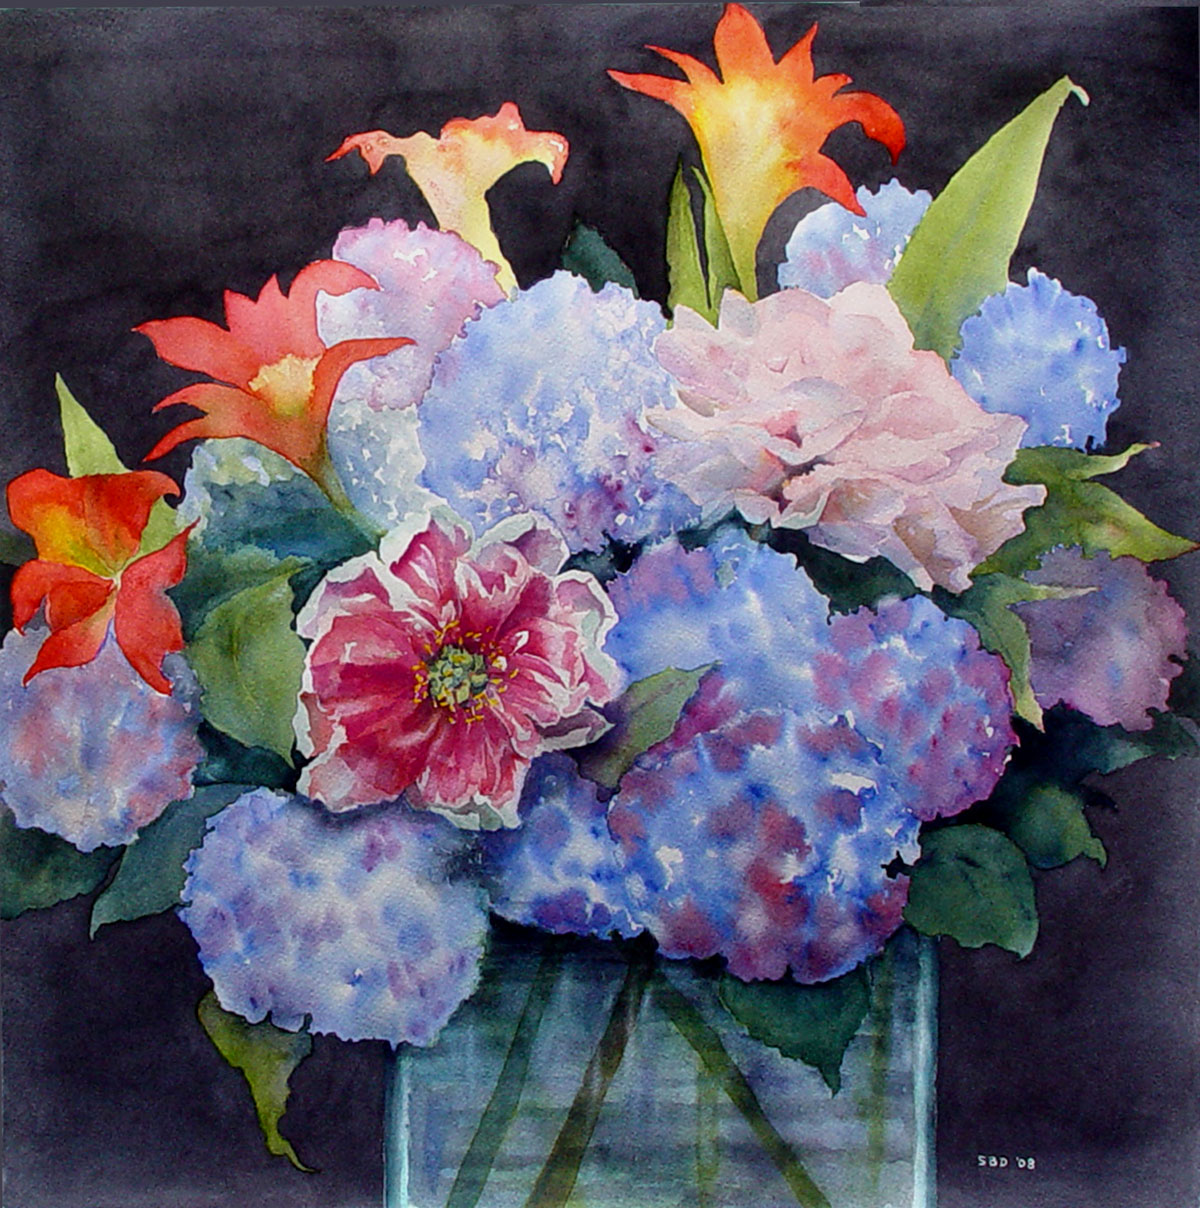
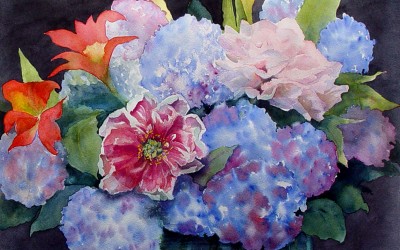
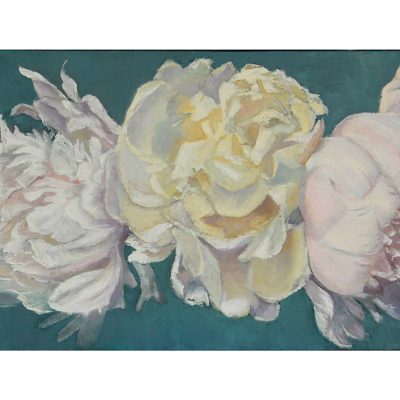
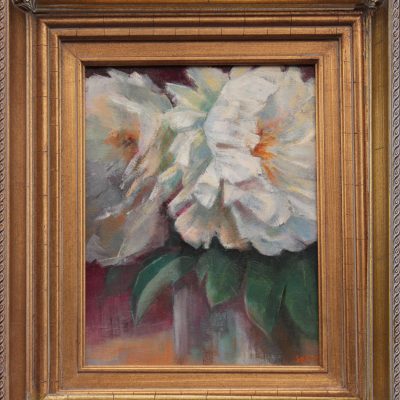
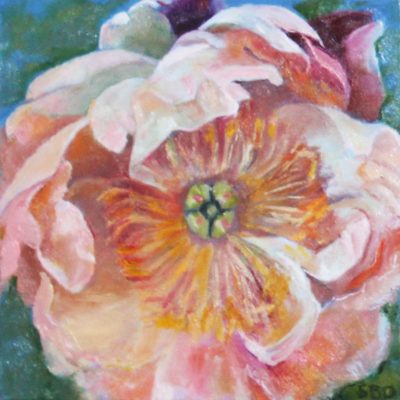
Hydrangeas
HYDRANGEAS – Watercolor on Arches cold press paper
19 1/2″ h x 16″ w
$900.00
by Sarah | Sep 18, 2012 | Blog, Blog Posts
Thanks for peeking in here! Teaching is not my forte’, but I hope you enjoy this attempt to show you a bit of the watercolor process.
To begin, I placed this painting on a board at about a 45° angle. I taped it down, and then started drawing. Below is a sketch of the two hens I drew on the paper. Normally, I draw with a very light pencil so the lines can’t be seen through the paint. Here I’ve darkened them (in Photoshop) so you can at least see them… the bottom of the drawing got so dark, I had to eliminate it…

- First Sketch of Two Hens
Next, I laid in the shapes, the lights and the darks. I decided to use black India ink in some areas as it’s more intense than watercolor and has it’s own interesting properties. I put ink on the tails and around the feet of the two hens. Water dropped on the ink causes it to fan out and makes an interesting effect as on the dark hen’s tail tip.
 Laying in the Colors and shapes
I continued to layer the colors going from light to dark (with oil paint, you generally go from dark to light), testing the colors on the paper next to the painting, finding the color I need. You can see on the feathers of the orange hen the layers of color, especially on the closeup of the finished hen.
 Chickens – Third Step
 Closeup of Orange Hen
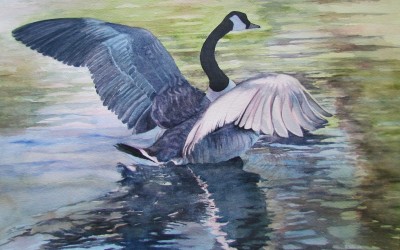
The painting is almost finished except for defining the beaks, and laying in the sky and clouds. This is hard to show as it happens so fast (maybe I’ll do a video some time as the process is really fascinating, I think). First, I carefully wet the background around the hens down to the rails (saturate might be a better word). Next, I mixed a large amount of Cobalt Blue paint with a little Quinacridone Coral. Then I lay the paint across the paper, starting at the top.
Because of the angle of the board, the paint descended – fast! I kept laying in the original color as it descended down the page. As I got closer to the girls’ heads, I started dropping in a pink/coral color and some Quinacridone Gold. You literally do drop the colors in and they fan out and blend, creating a beautiful look which is unique to watercolor. It’s beautiful!
There are several techniques for creating clouds. The one I use most often is to take some paper towel (Viva) and lift the paint while the paper is still quite wet. You can also lift with a paint brush, or wait until the paint dries and lift with a small scrub brush. Watercolor paper is extremely durable, and you can scrub and lift. Even Magic Eraser ( like you use on your kitchen floors) works great!
 Adding the Sky
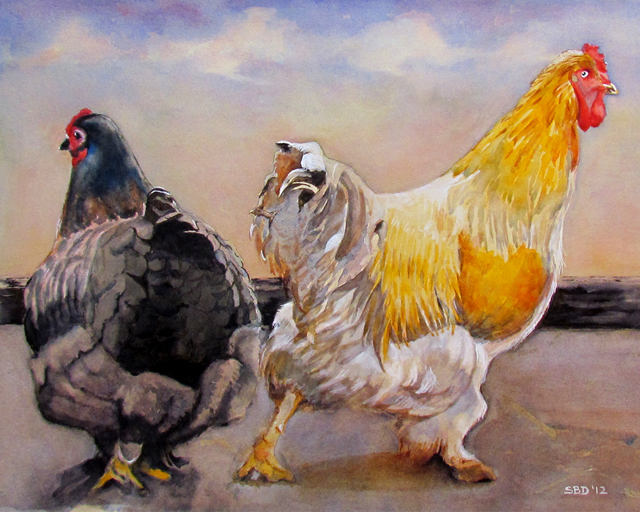
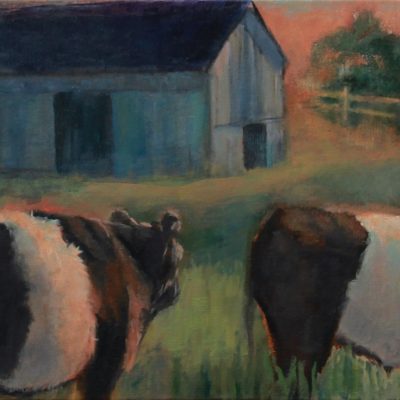
Here is the finished painting – sky, beaks and all.


by Sarah | Apr 11, 2012 | Blog, Blog Posts
Spring is here (gorgeous!), and it’s time to tend to my long-overdue blog.

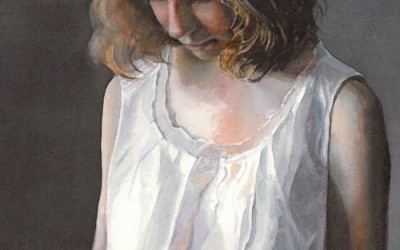
Study of seated woman
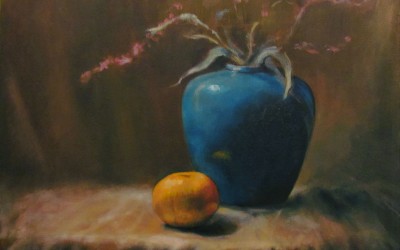
I’ve been working on a number of pieces over the last months but I’m going to take you through this one that I’ve been painting over a number of weeks. I”m attempting a style of painting called “Tenebrist,” in which most of the figure is engulfed in shadow, but some parts are dramatically illuminated by a beam of light (in this case a spotlight fixed on the side of a black-encased box which is aimed on the model). Caravaggio, a Baroque artist, is generally credited with the invention of this style.

Study for Glazing
The first step in preparing the oil painting is laying down a background color, usually a dark reddish/brown, with an acrylic paint.
The next step is to lay out the drawing (this model is quite ample and a delight to draw), and lay in the lights. The oil paint is very much thinned down with linseed oil to create a thin glaze. I was fascinated with the way the light illuminated her skin, a bright red, winding it’s way up her leg, through her body and resting on her face. She has a wonderful head and chinline. I might add that she’s a terrific model as she never moves!

Second phase of glazing
After the painting dried for several days, I next lay in a rose color as a glaze; namely a very thin layer of oil paint and linseed oil. The rose color, interestingly, over the dark brown becomes a dark blue. The remainder of the painting is done in layers of a thin glaze which, being translucent, gives a feeling of depth to the figure. Vermeer is one of the masters who used this technique beautifully!

Third Step in Glazing
This was the third week of adding glaze. It’s a long process and I have to admit I didn’t always glaze but added full color in order to move along faster. Also, I decided I’d enter a local competition and felt uneasy with this model being unclothed. So, using a slip that I had, I improvised and added a slip to the model. I’m sure it’s not as good as it would be if I had the real thing to look at but I loved the subtle colors of blue/green complementing the rose of her skin.

Close-up of face of model
Study of seated woman
That’s it for now. I learned a lot from this study, and I hope you learned something from my description as well.
I just started a watercolor of a barn and a horse, which I’m painting for a fundraiser at my daughter’s school. It’s for Derby Day, thus the horse. Next blog I’ll try and do a sequence of that piece so you can see how watercolor works. It’s very different from oils. I really love both mediums; each has it’s own beauty.
Happy Spring!
Sarah
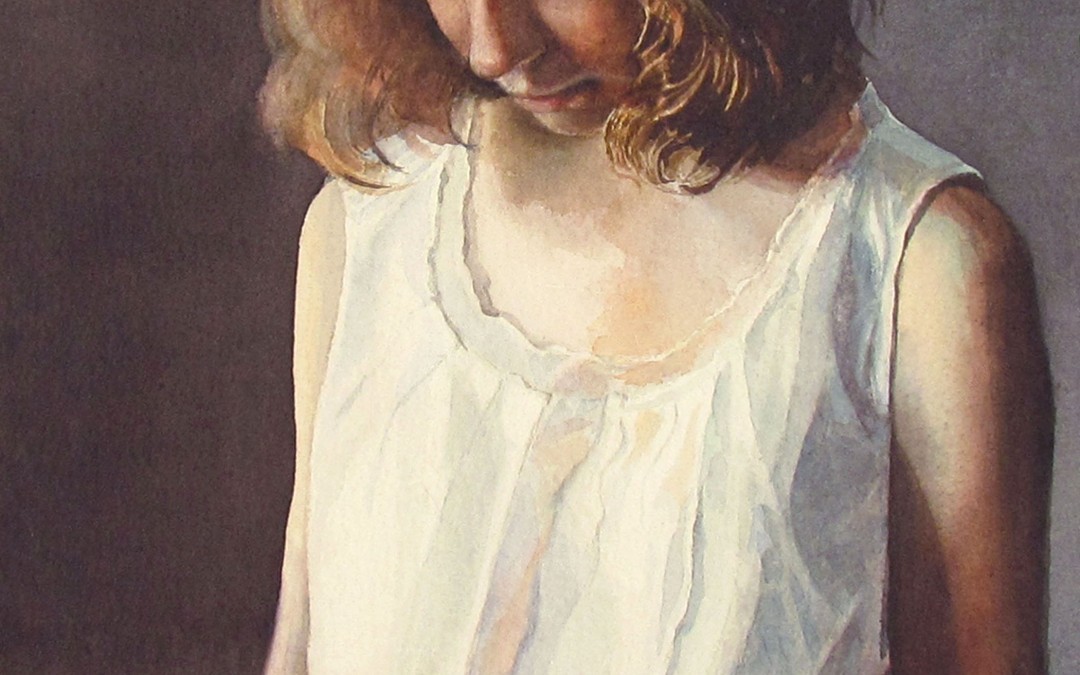
by Sarah | Jun 8, 2011 | Blog, Blog Posts

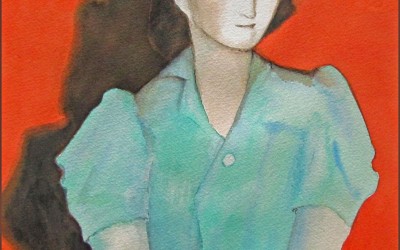
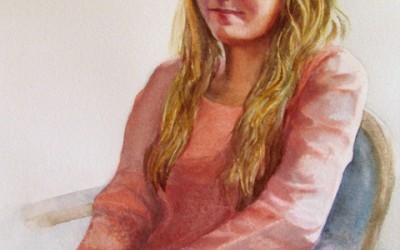
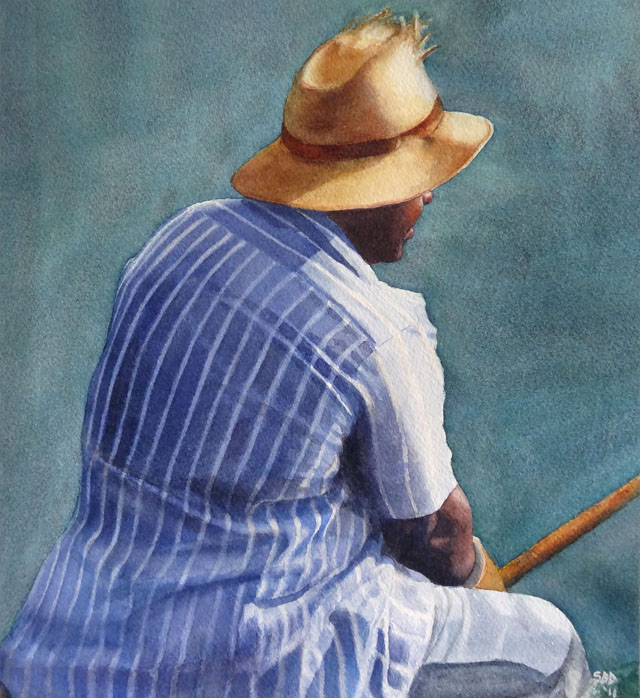
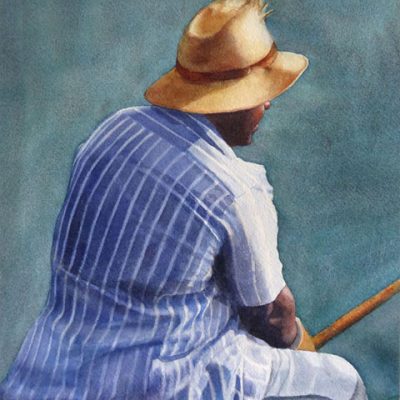
This piece, “Pensive,” won first place and People’s Choice Award at the Jekyll Island Art Show. This is a watercolor painting of my daughter, and what I really loved aside from her stance was the light on her blouse and her hair, and the orange of the bench.

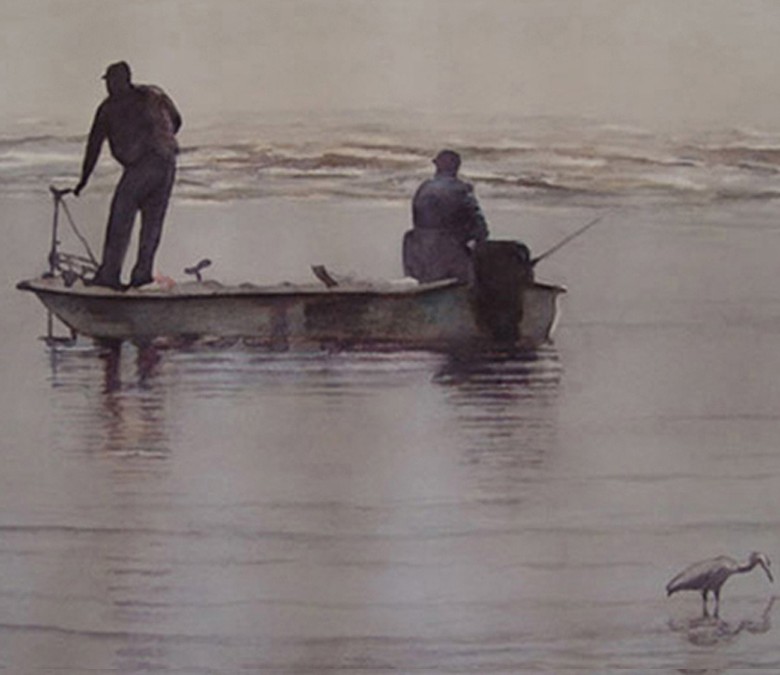
- Two Old Friends
This watercolor, “Two Old Friends,” was accepted into the Southern Watercolor Society Exhibition and won the North Light Books award. This painting was prompted by seeing a small photo of a group of people in a hospital. Several of the women looked like these two, and I was touched. This has a folk art feel to it, different from my more realistic stuff. I’m always trying to resolve the tension of wanting to illustrate/capture humor, and wanting to capture poignancy/reality. Maybe some day they’ll meld.

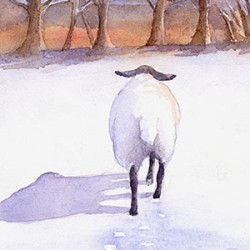
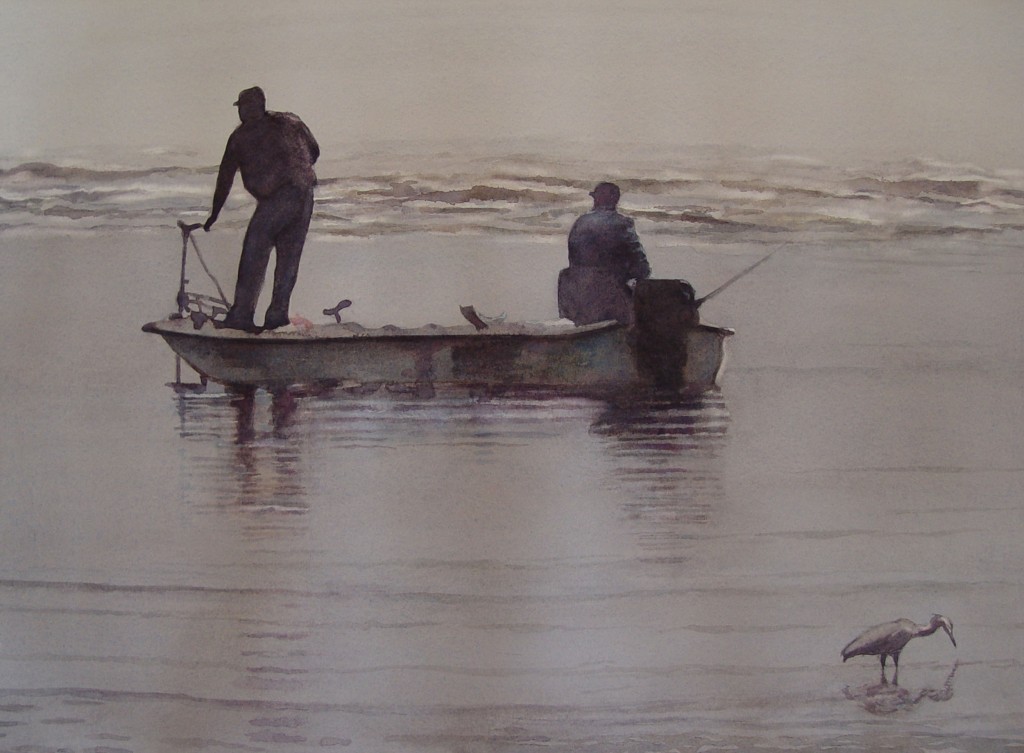
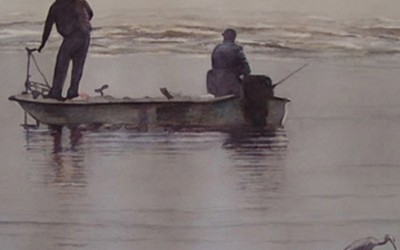
- Dusk
“Dusk” was accepted into the Alabama Watercolor Society Exhibition and won the Georgia Watercolor Society award. This piece was based on a photograph by Bobby Haven of the Brunswick News, Brunswick, GA.

- My oil painting teacher, Carl Fougerousse
This is an oil painting I did of my teacher Carl Fougerousse. The model never showed up so Carl sat. I was thrilled as he has a much more interesting face; great nose and hair! Good looking fellow!
I still want to work on the shirt. I’m fascinated with light on fabric. I guess I love the way light plays on almost anything. God’s touch.
That’s it!


